
Page 12 - ngk-venetulpat
P. 12
ALSO AS VIDEO
IMPORTANT TIPS FOR THE REMOVAL AND
INSTALLATION OF GLOW PLUGS
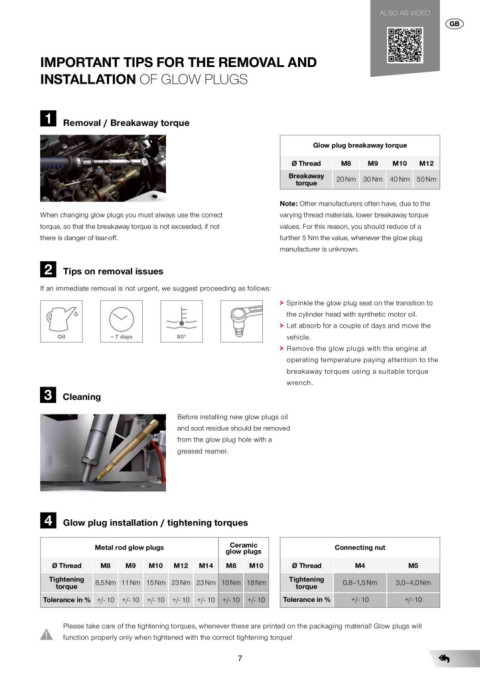
1 Removal / Breakaway torque
Glow plug breakaway torque
Ø Thread M8 M9 M10 M12
Breakaway 20 Nm 30 Nm 40 Nm 50 Nm
torque
When changing glow plugs you must always use the correct Note: Other manufacturers often have, due to the
torque, so that the breakaway torque is not exceeded, if not varying thread materials, lower breakaway torque
there is danger of tear-off. values. For this reason, you should reduce of a
further 5 Nm the value, whenever the glow plug
manufacturer is unknown.
2 Tips on removal issues
If an immediate removal is not urgent, we suggest proceeding as follows:
Oil ~ 7 days 90° > Sprinkle the glow plug seat on the transition to
the cylinder head with synthetic motor oil.
3 Cleaning
> Let absorb for a couple of days and move the
vehicle.
> Remove the glow plugs with the engine at
operating temperature paying attention to the
breakaway torques using a suitable torque
wrench.
Before installing new glow plugs oil
and soot residue should be removed
from the glow plug hole with a
greased reamer.
4 Glow plug installation / tightening torques
Metal rod glow plugs Ceramic Connecting nut
glow plugs
Ø Thread M8 M9 M10 M12 M14 M8 M10 Ø Thread M4 M5
Tightening 0,8–1,5 Nm 3,0–4,0 Nm
Tightening 8,5 Nm 11 Nm 15 Nm 23 Nm 23 Nm 10 Nm 18 Nm
torque torque +/- 10 +/- 10
Tolerance in %
Tolerance in % +/- 10 +/- 10 +/- 10 +/- 10 +/- 10 +/- 10 +/- 10
Please take care of the tightening torques, whenever these are printed on the packaging material! Glow plugs will
function properly only when tightened with the correct tightening torque!
7